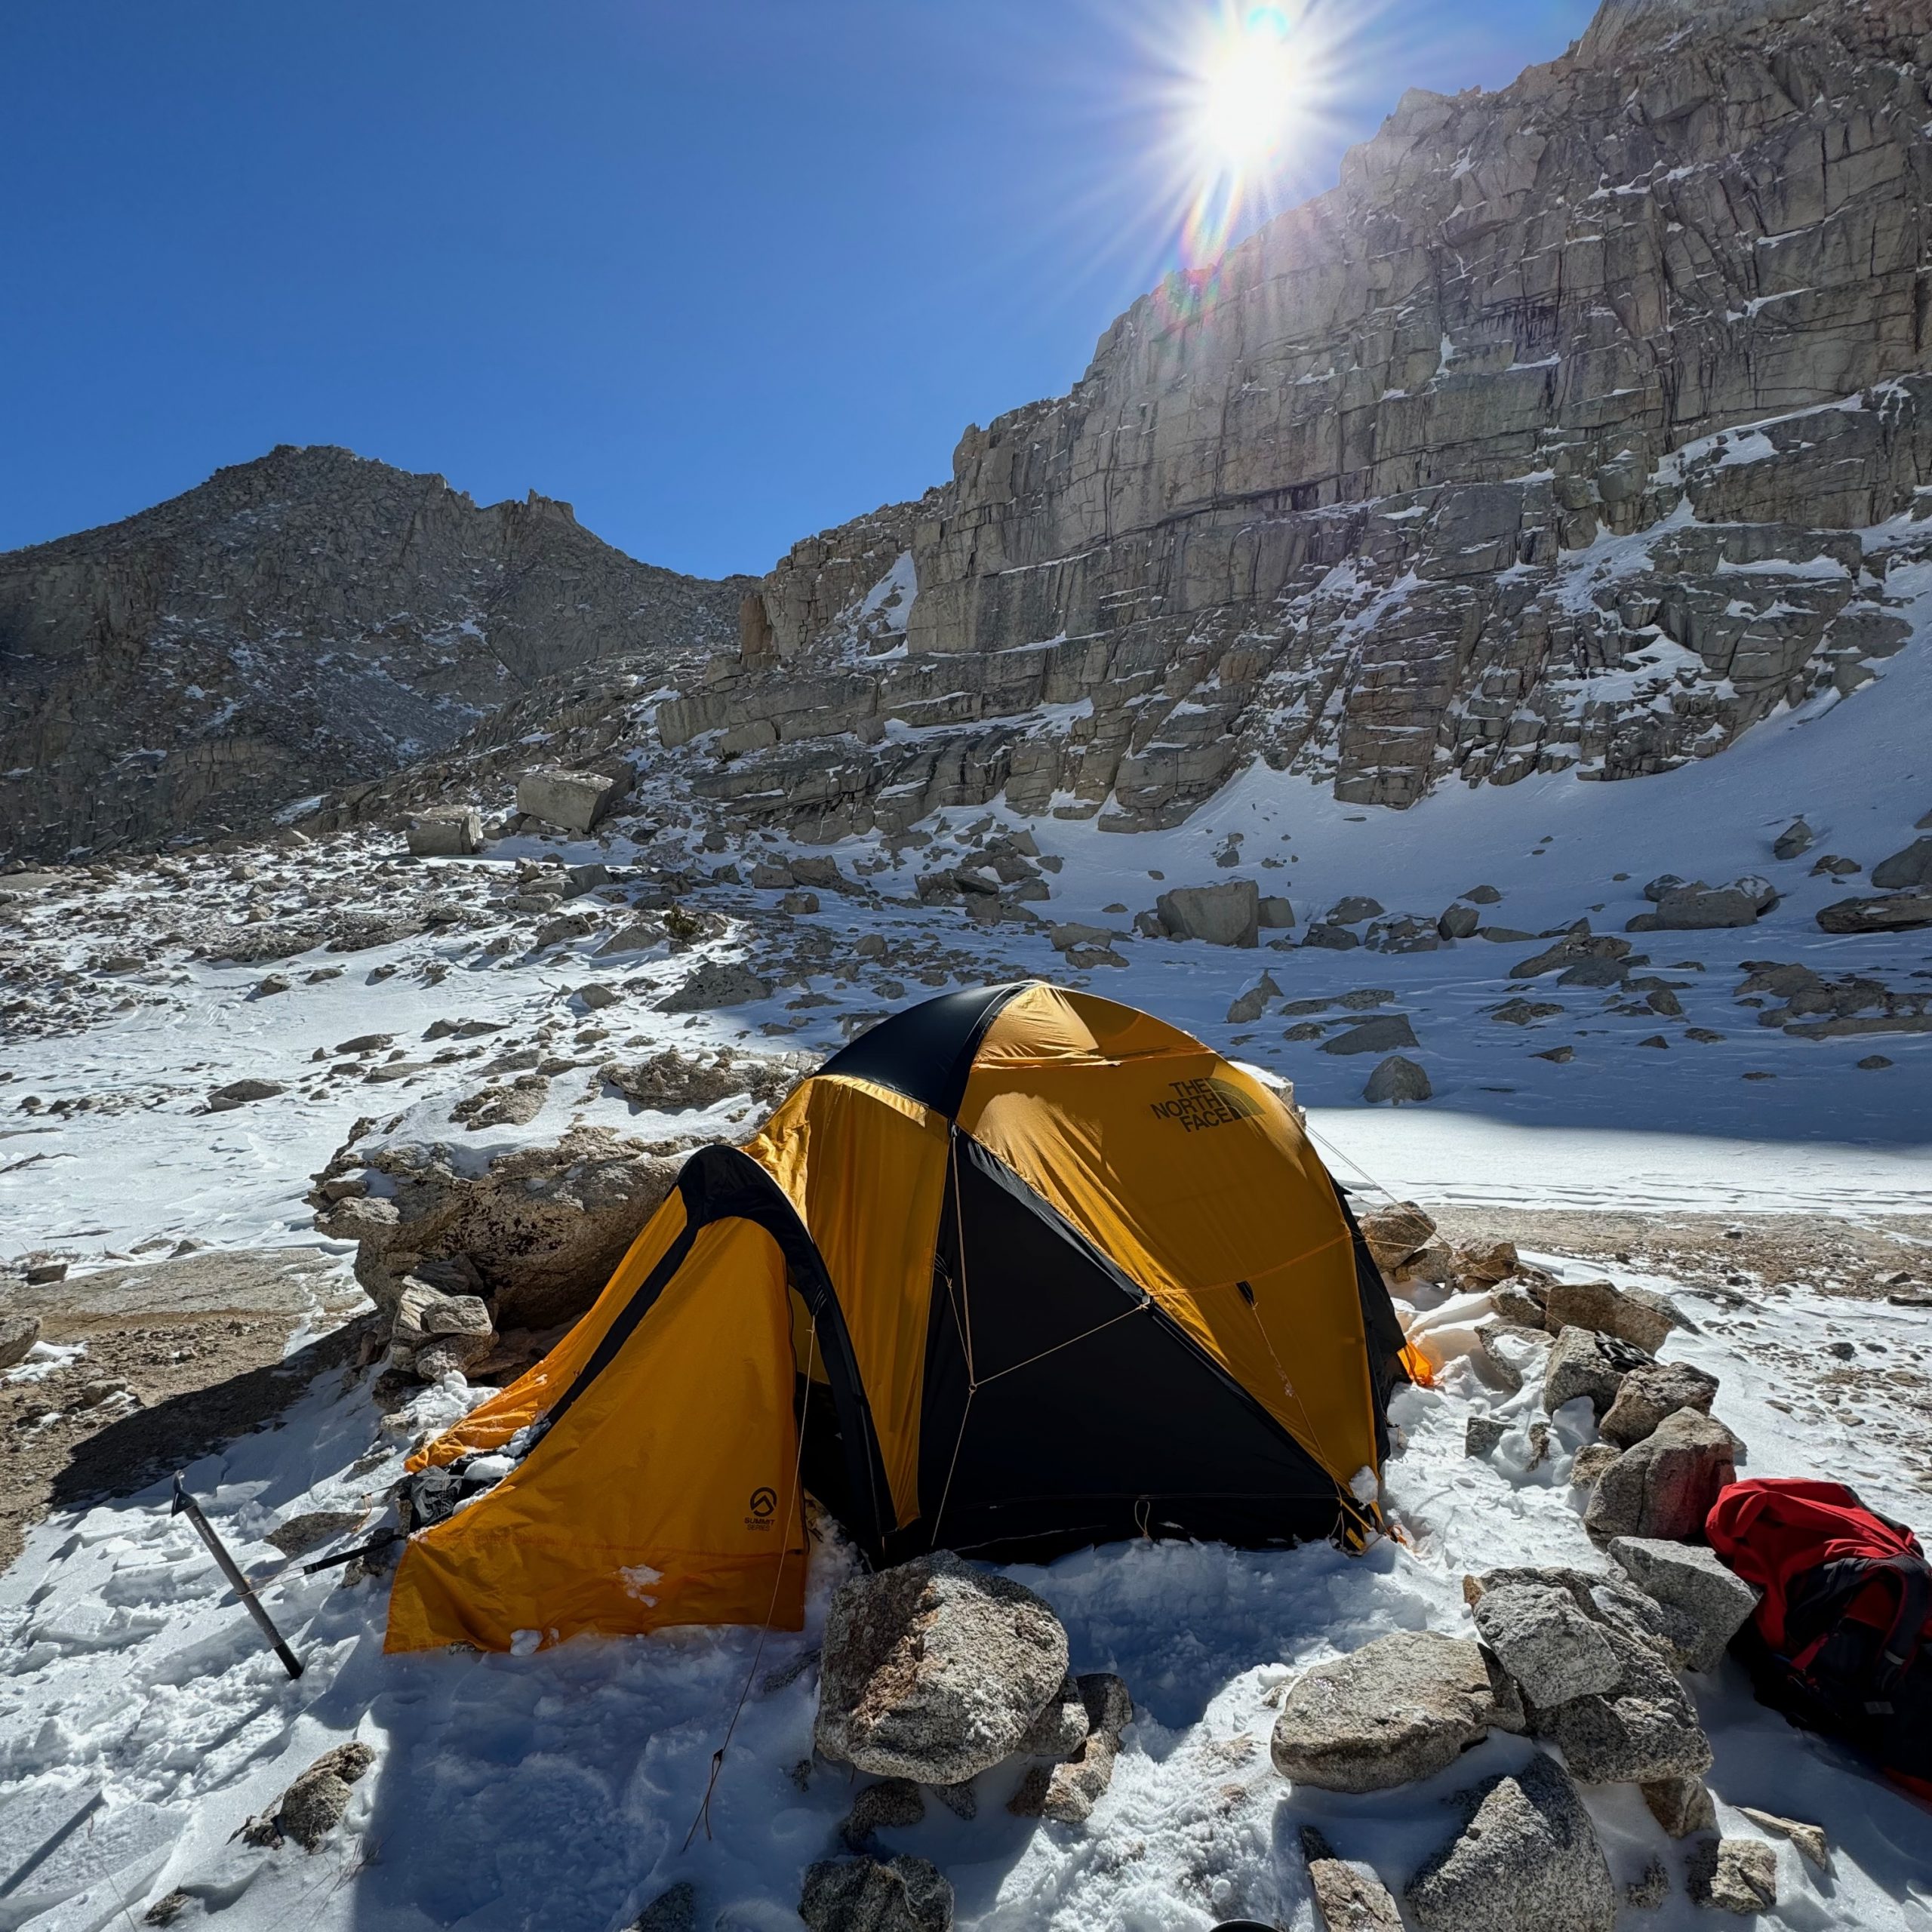
I returned home from my Whitney Adventure in a state of almost total and complete shock. I had lost five pounds in 48 hours; I’d also lost my phone, and abandoned all my gear — my entire base camp setup — at 11,000 feet. I knew I had to get back — and soon — before either the weather or humans disposed of my kit. Thus was the Whitney Gear Retrieval Mission born.
A Climbing Partner: Enter Michael
I knew one other thing too: I’d prefer to execute this mission with a skilled partner. I caast a random net onto my socials, and one man in particular responded instantly, and without hesitation: Michael. The exchange went something like this:
Me: “Thanks! I’m headed back up there Tuesday or Wednesday to get my gear! I left it way up at base camp, Upper Boy Scout Lake!”
Mike: “Oh damn!”
Me: “Yeah! Want to come with?”
Mike: “Yes!”
No questions, no hesitation, just an immediate affirmation. Michael was slightly less prepared than I had imagined… but unlike Y.T., he knew he was unprepared, and we sat down and made both a detailed equipment list, and a detailed schedule that we would adhere to, including “last hour” cutoff / turnaround points (it was important to us to get down the mountain before dark — or more importantly, before weather shift).
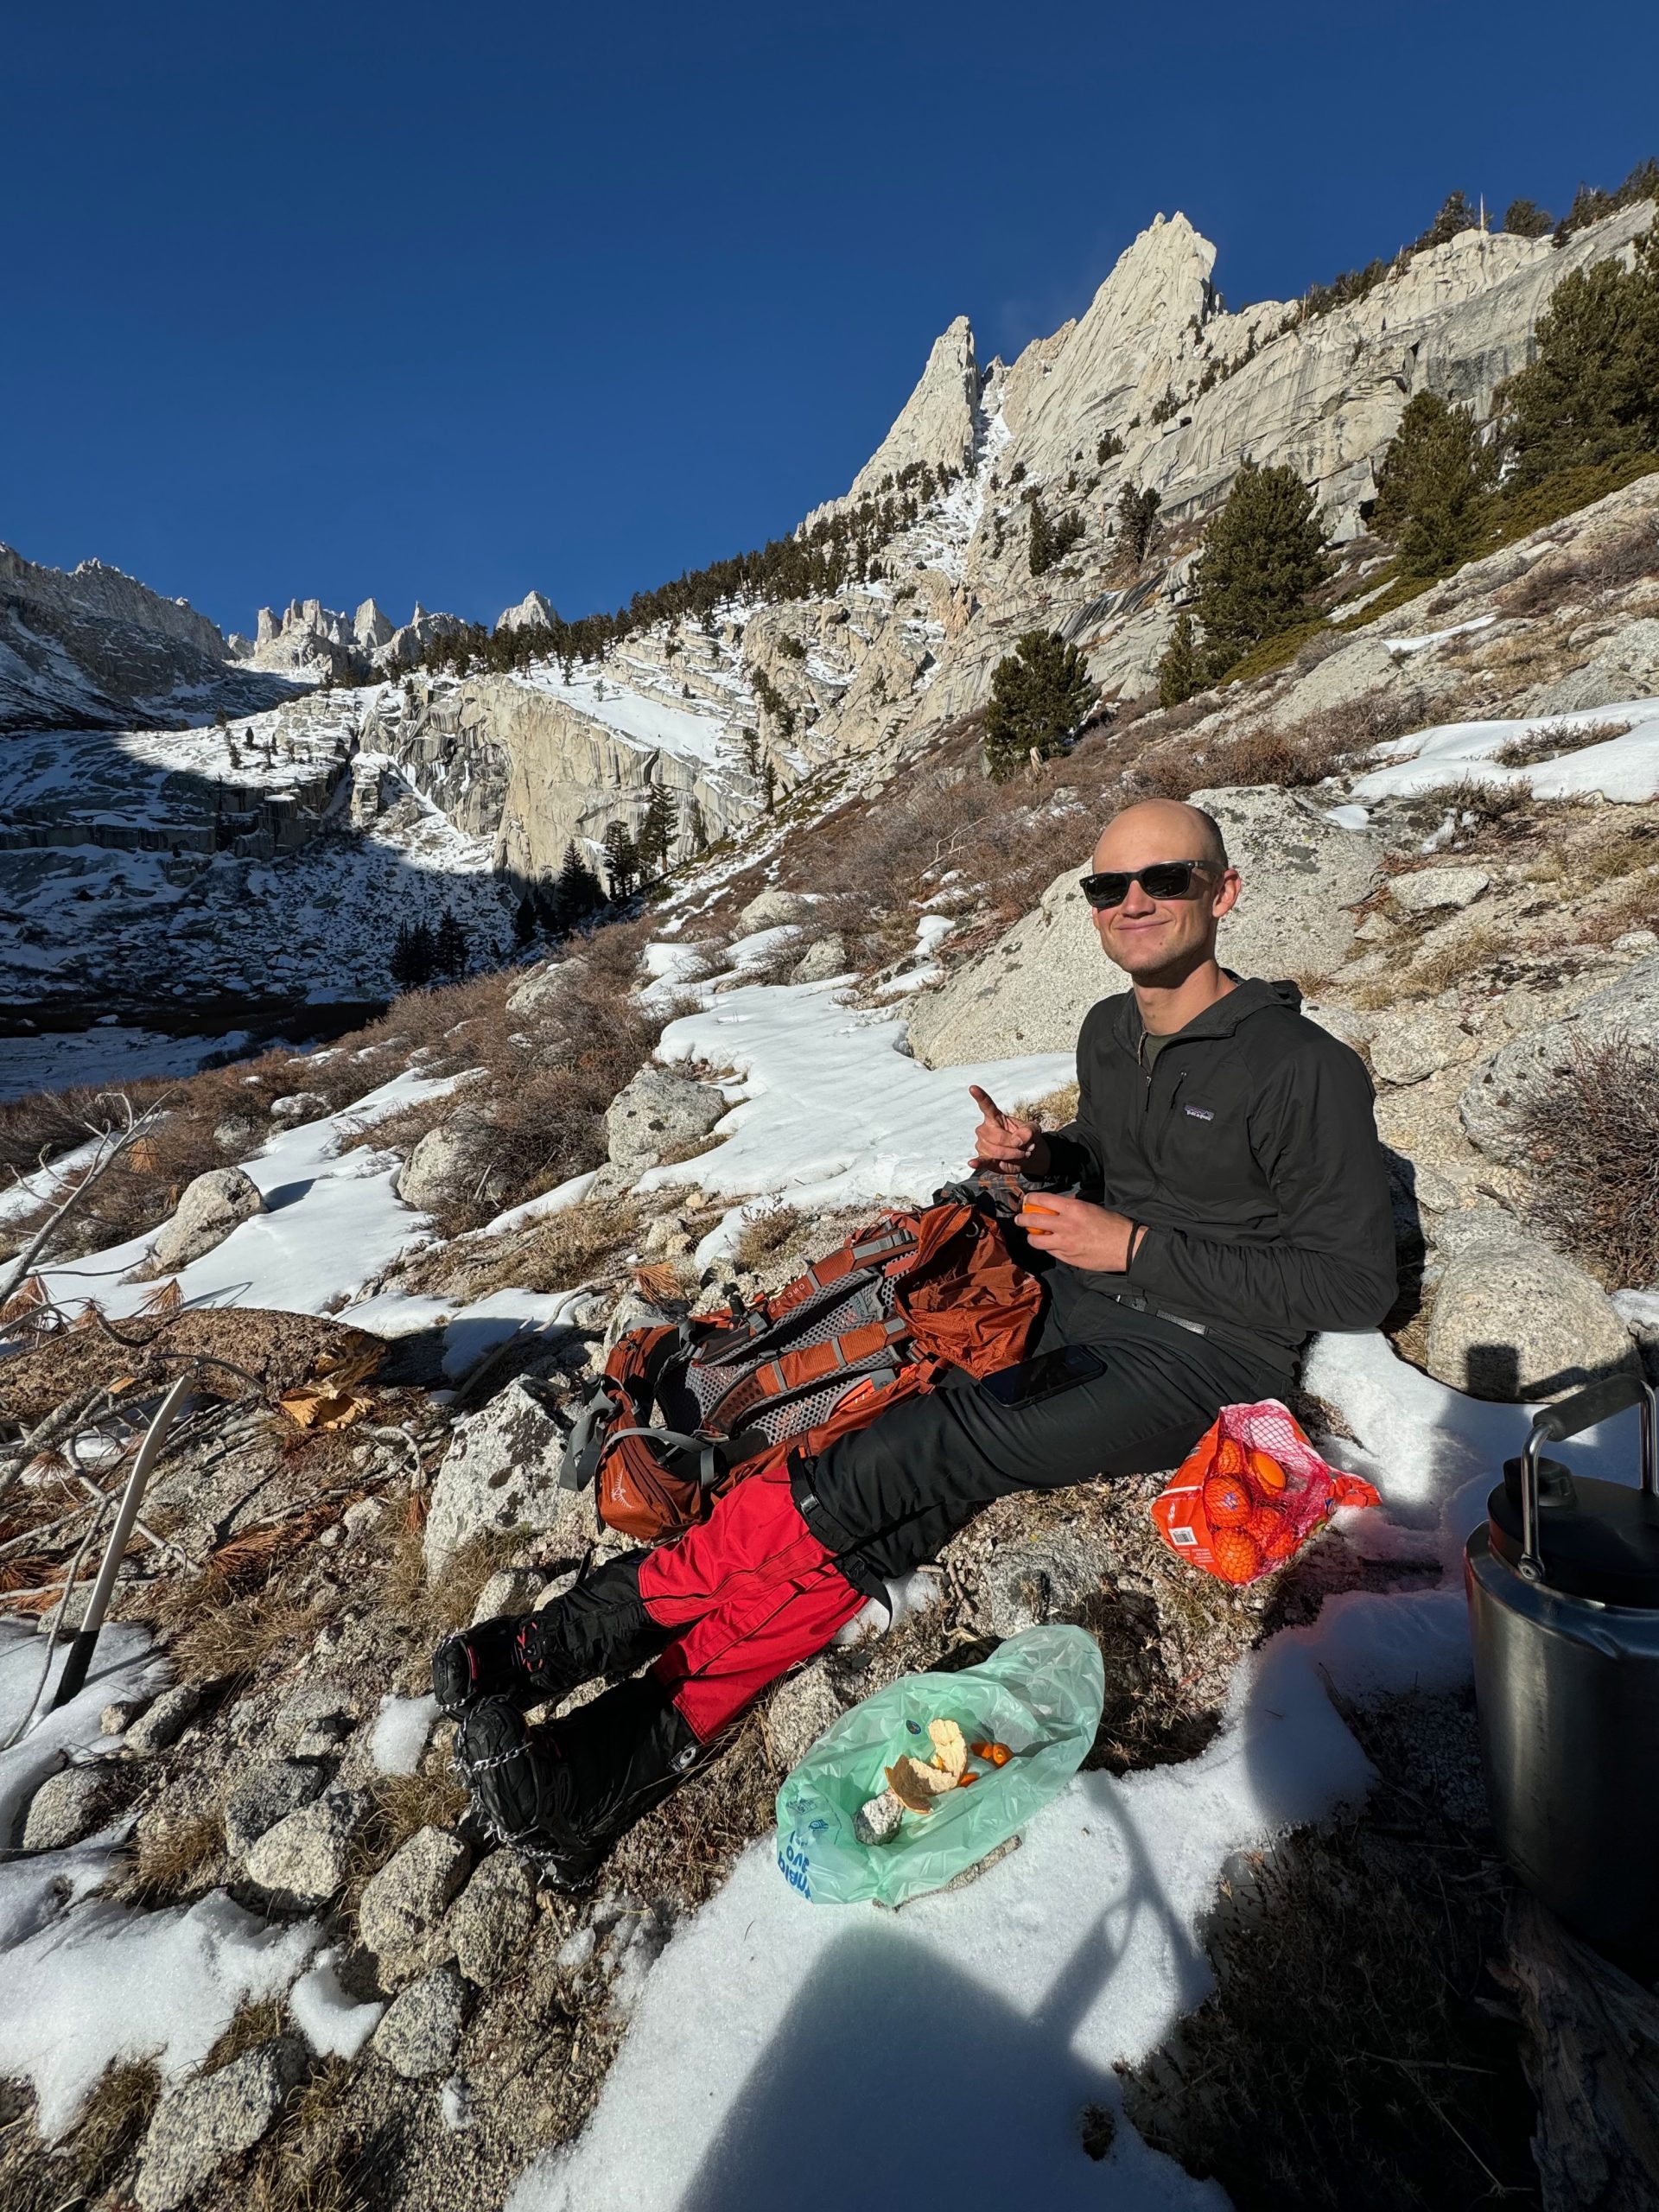
Mike likes organic tangerines. After this experience, I’m a convert.
Proper Planning & Preparation
We loaded up AllTrails and I gave him a 3D flythrough, with blow-by-blow descriptions of what challenges we could expect — where the easy hikes were, where the dangerous points were; what portions required what technical skills (ice climbing, rock climbing), what portions were clear, what portions were in deep snow.
We agreed that this would be a military style mission: climb up, get the gear, climb down, all in one long day. No pleasure trip. A mission. As per Curtis, we agreed on an “Alpine Start” (before dawn departure). We would drive up Wednesday afternoon, sleep in the car at the trailhead, and be up at 4am, “boots on the trail” by 0500. That would give us 10 hours of solid daylight to complete the mission. It could work.
We agreed that if we weren’t at Base Camp by noon that we would turn around — correction — that we would have a serious conversation about turning around at that point. Technically, the path was measured as quite short — a mere 3.5 miles. But more importantly, it was 3,000+ feet of altitude gain. The trailhead sat at roughly 8,300 feet, and base camp sat at 11,300. Notably, there was at least 0.7 miles and 500 feet of vertical between the car and the trailhead.
Finally, I knew that this very same hike had taken me a full 10 hours to complete 4 days prior. On that (initial) attempt, I had three disadvantages: 1) I was hauling a 55 pound pack, 2) in general, I was cutting new trail through 24″ of fresh powder, and 3) I got repeatedly lost and had to backtrack, turning 4 miles into 12 miles, according to my GPS track.
I figured on this mission, we’d be going fast and light and hard: just minimal daypacks (water and snacks), I already knew the route, and (hopefully) my postholes would still be there for us to plant our feet into, without having to carve new trail once again. Two out of three ain’t bad.
The Ebersbacher Ledges (e-Ledges)
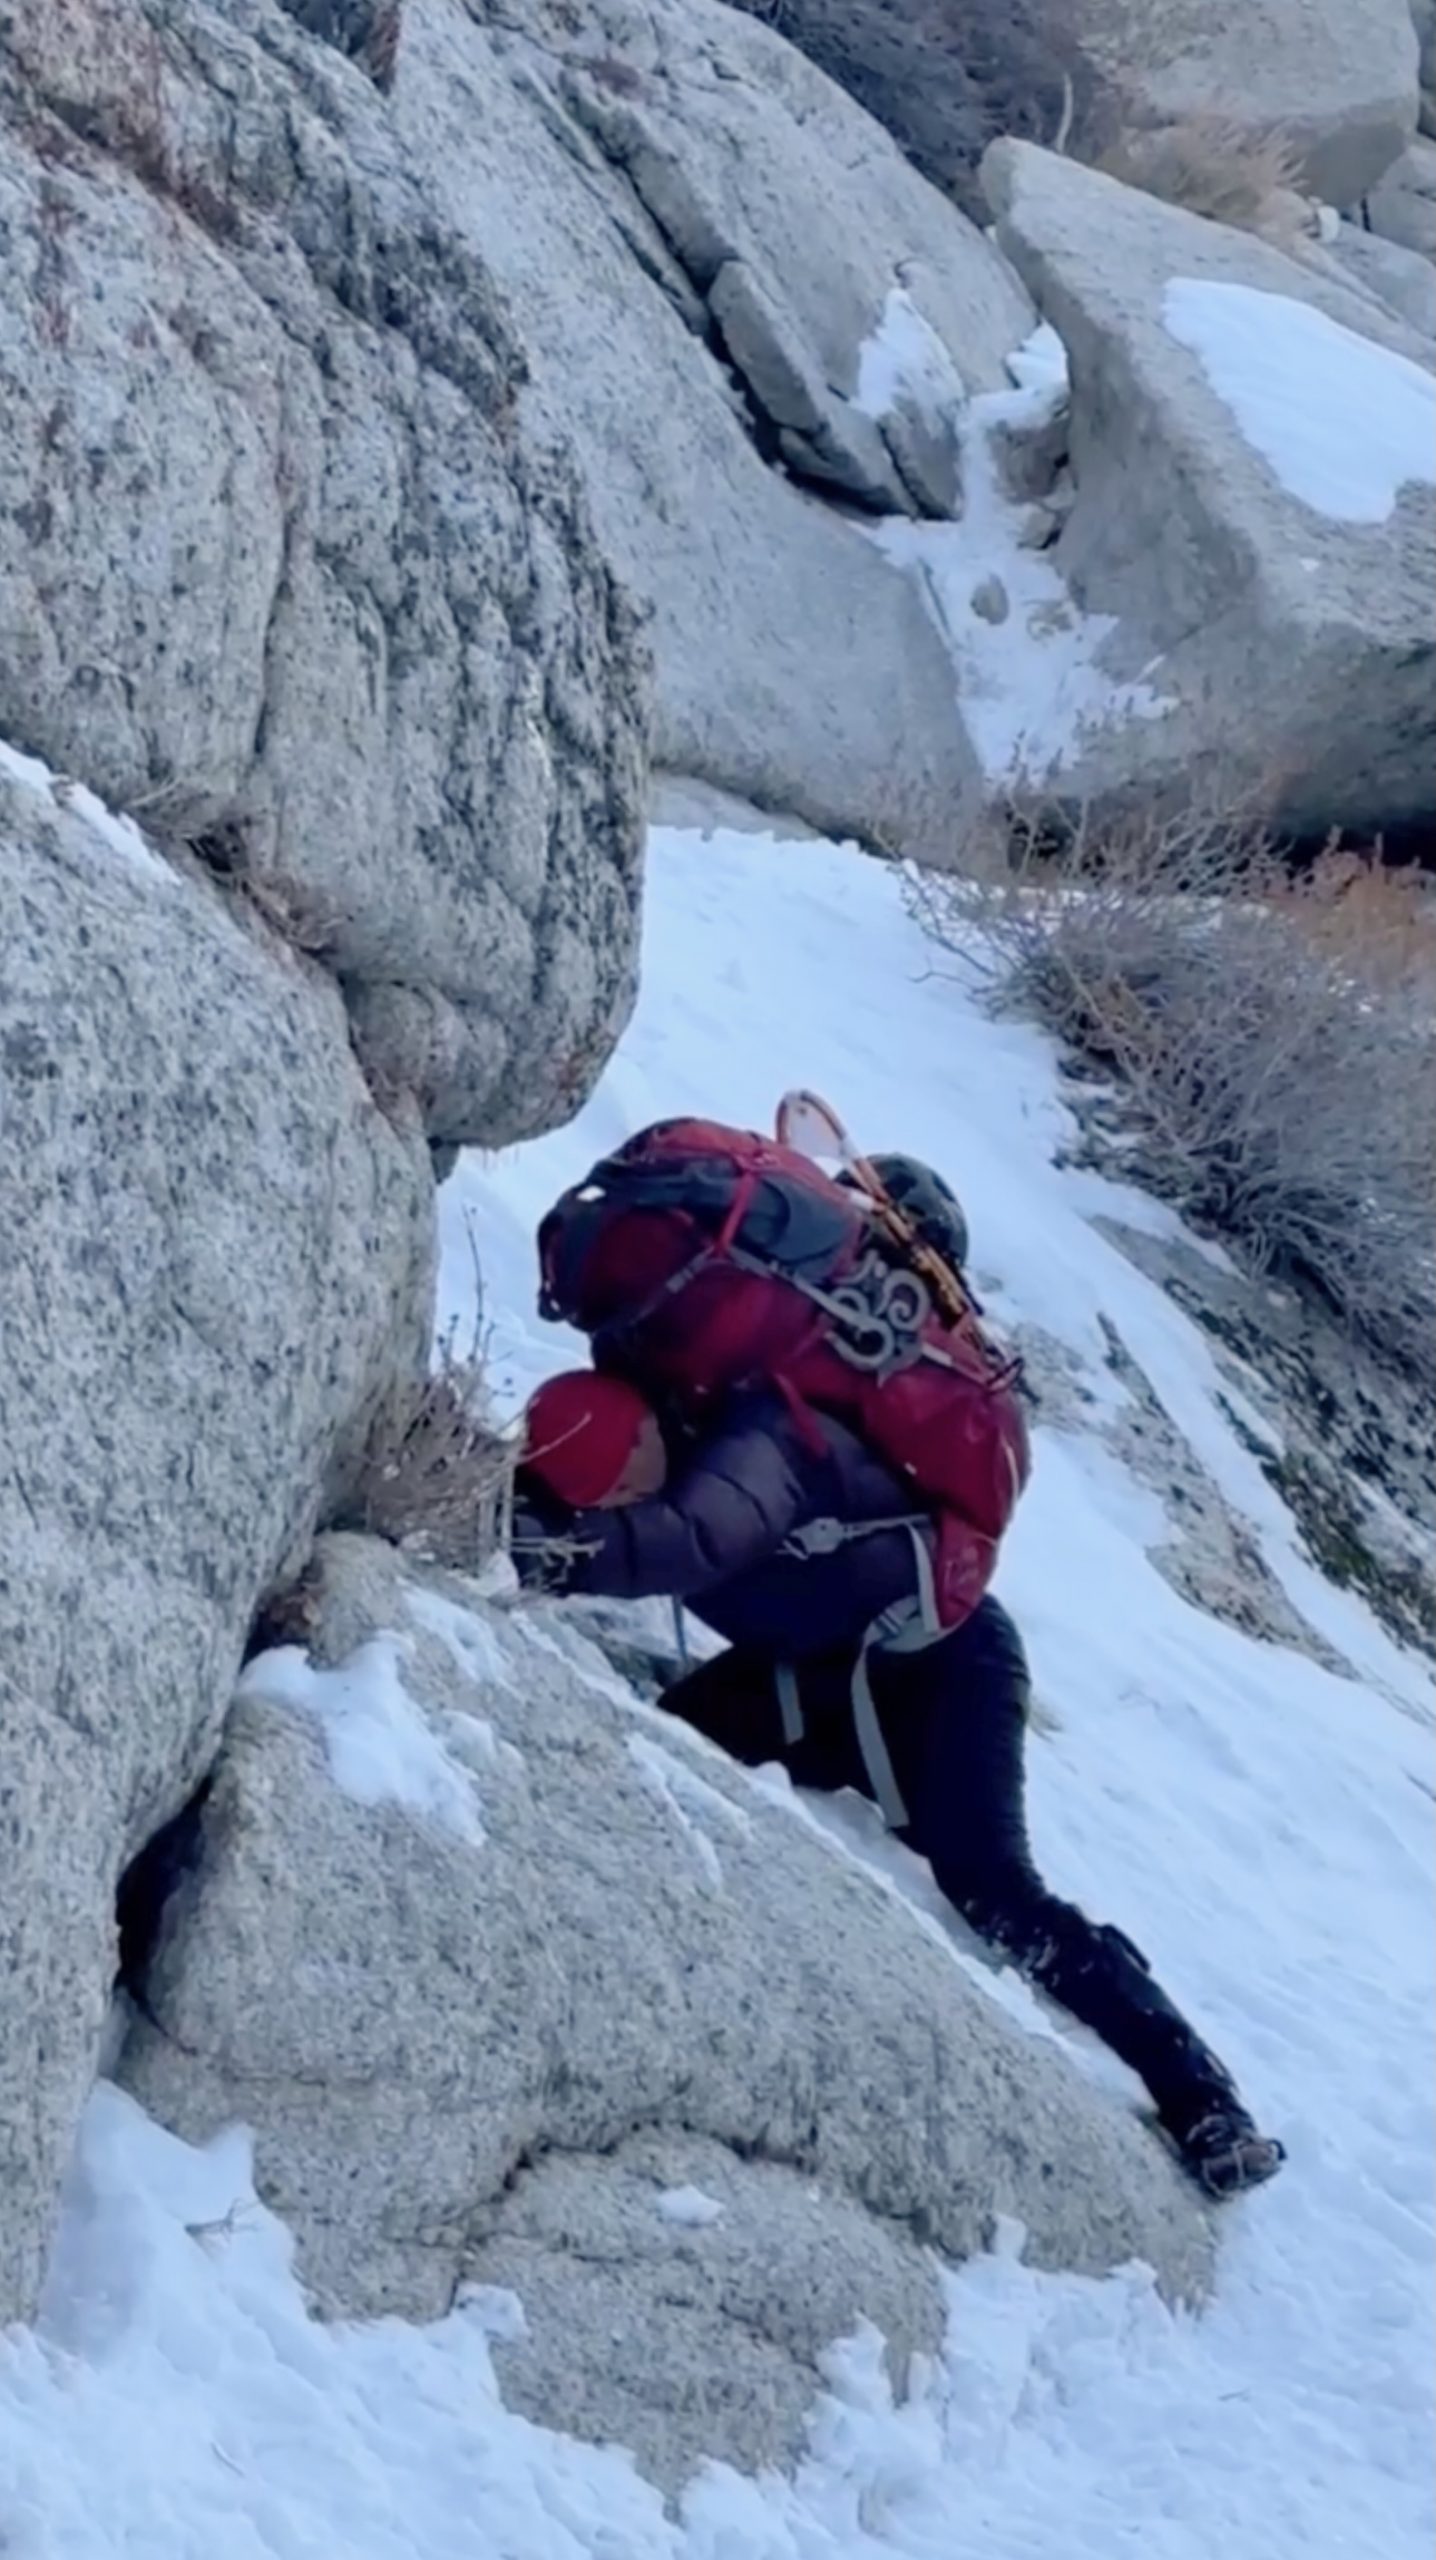
- the navigation is sketch. the cliffside blocks many GPS signals, and it is hard to tell where you are on the trail. as with most of whitney mountaineers ruote, the trail is for guidance only, you can really “choose your own adventure”… but on the e-ledge portion, ledges can very easily dead end into serious technical climbing (5.10+) cliffs that would be unwise to free solo, esp. with a heavy pack on your back. even in the video linked here, filmed in clear summer day without snow, they miss the cairns. so just go slow, always note your exposure, and be careful and be ready to track back.
. - each time we did it (and it was different each time), there was a single portion — a “crux” — that required either absolutely sure snow / ice footing and axe work, or a hanging hold (axe holding rock, rest of body hanging outward for a brief moment until next hold is caught). not normally a problem, however, on that portion of the e-ledges, the exposure is a fairly clean 300 foot fall to rocks below, with nothing to catch or stop you along the way. In other words, you slip, you die. You’d better trust the snow, trust your axe skills, trust god, or best, all of the above.
- there is zero foot hold, on either the rock or the snow & ice. That was slick frozen rock, and the snow + ice was simply… crumbly. Not to mention, further out than my foot could reach, even at full extension.
- behind me is a fairly sheer 300 foot drop, ending in rocks. A slip or fall goes the whole way down, without any place to slam an ice axe into or to catch a desperate dyno grip.
- My entire body here is hanging from my ice axe tip, which is caught firmly(?) into a little 1/4″ crack in the rock. I sure hope it holds.
Here’s a better shot, showing the start of the exposure (top edge of the cliff):

This was a very high stress moment, to put it lightly. At the risk of repeating myself, I wrote two separate journal entries about this moment. Below is the first. The second (here) gives a little more context and detail, and expands the conversation out to the meta-question, “Why do we risk our lives to climb mountains?”
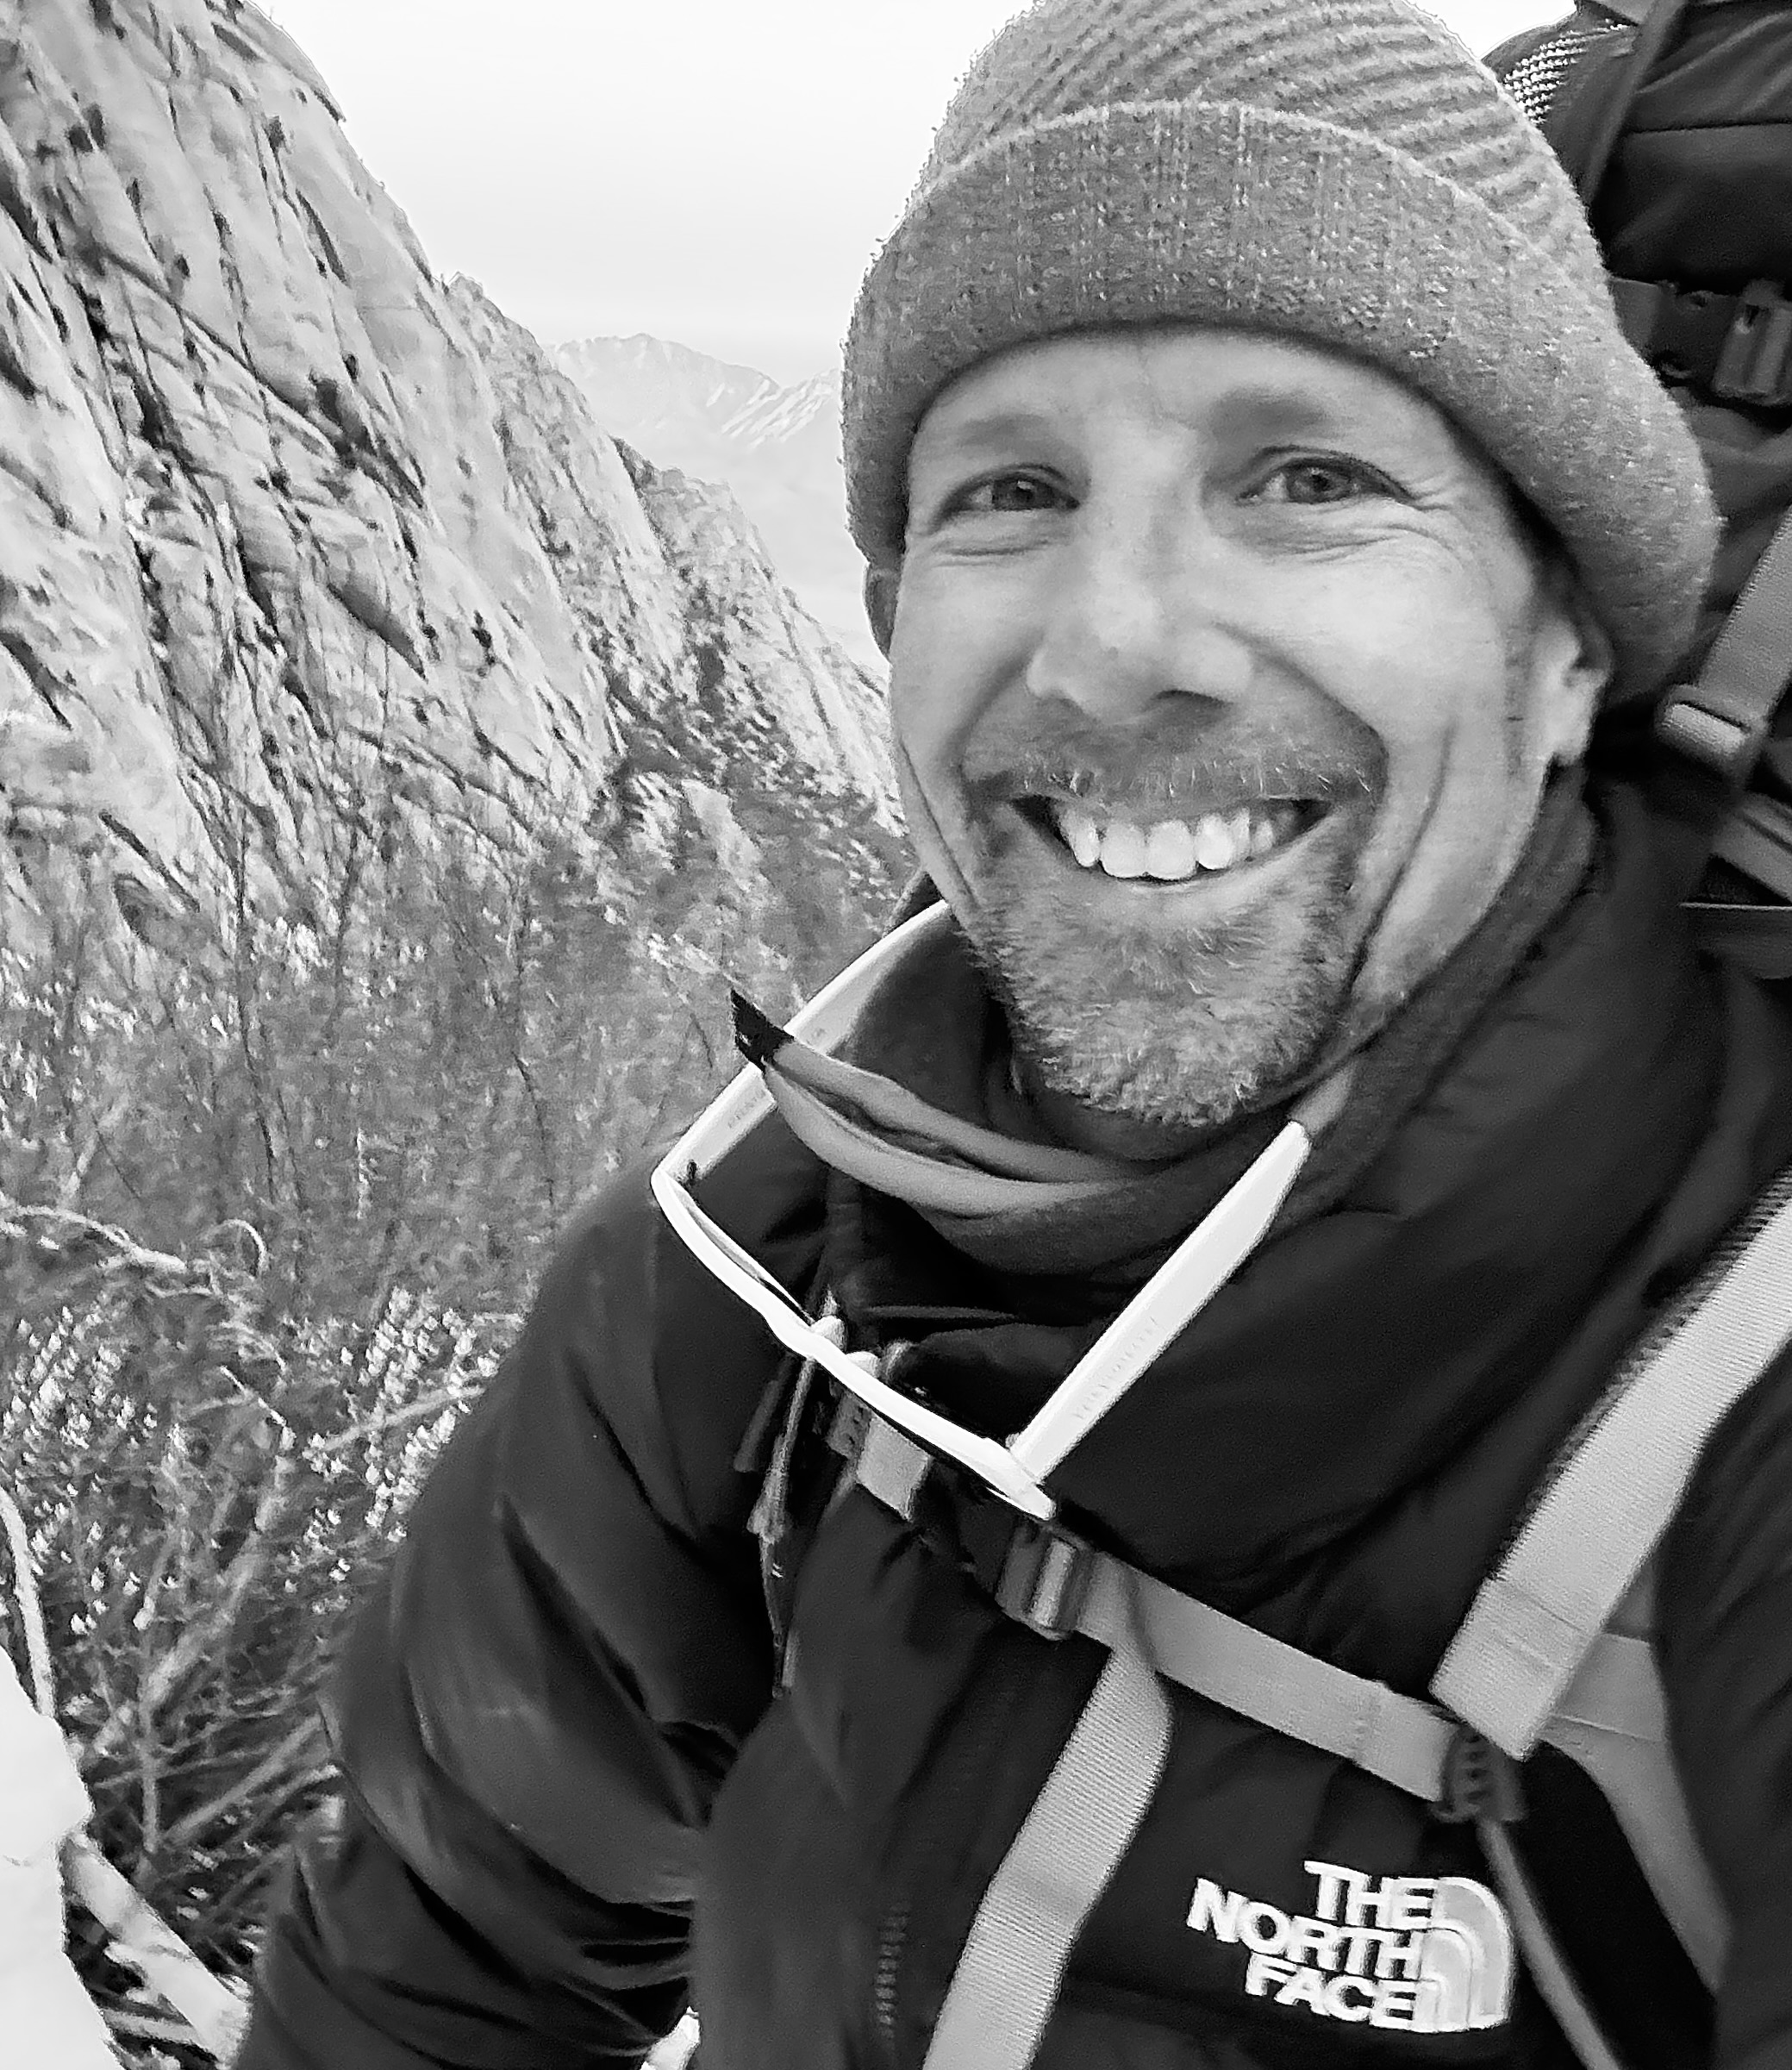
Thank God, I made it.
And thank Michael. His calm, firm verbal reassurance helped me through it. He showed me the axe move, then calmly re-assured me as I had total laser focus, moving one foot after another across that treacherous traverse.
Once my heartrate had recovered and I had a moment to think about it, I snapped this selfie. I think you can see the obvious relief and ecstasy of being alive written all across my face. Hallelujah!